One of the things that can often go wrong with an Atari are the switches. This is often the case on the 4 and 6 switch models. There are two types of switches, the Toggle Slide Switch (Power, Color/BW, and A/B Difficulty) and the Momentary Switch (Reset and Select Switches). The difference between the two is that the toggle switches are more narrow and can work in either direction while the momentary is wider and is spring loaded. You have a number of different options for repairing/cleaning these. They will be listed below in the order that you should try them.
Here are some of the tools you tools you will need, it will vary depending on the method used:
- Needle Nose Pliers
- Small Flathead Screwdriver
- Soldering Iron and Solder
- De-soldering tool (De-soldering Iron, Vacuum, Bulb, Braid)
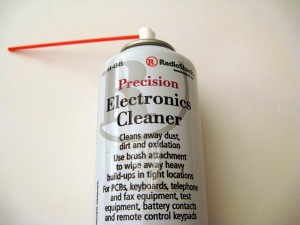
- Electronics Cleaner (Such as Radioshack Part #64-4345)
- Q-tip
- Rubbing Alcohol
- Multimeter(Or any meter to test for continuity)
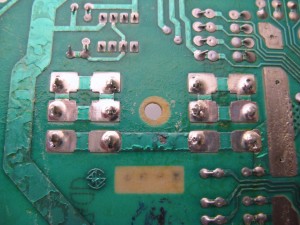
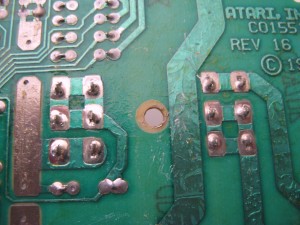
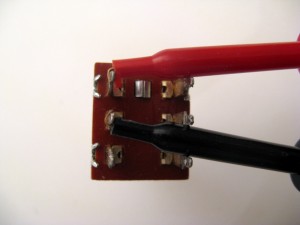
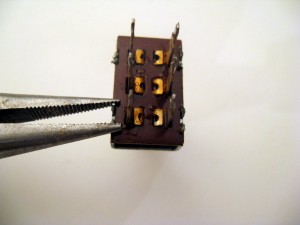
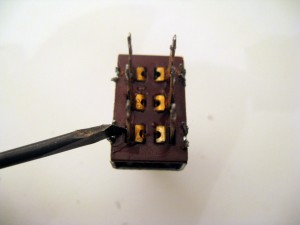
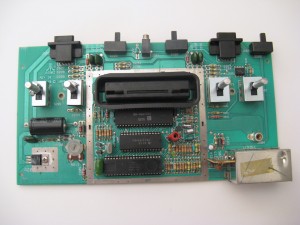
- The first thing you want to do is remove all the screws and take the main board out of the case. There are 6 screws on the 6 switch and 4 on the 4 switch. Now examine the switch that is problematic. Turn the board over and examine the solder underneath. Below are what they should look like. If any of the solder joints looked cracked or loose you should use your soldering iron to re-solder them. You should also use the multimeter to test for continuity. Notice how 4 of the prongs on each switch are all connected. The place to check for continuity is between the group of 4 and the group of 2. When you move the switch you should have continuity, if not then you know there is an internal problem with the switch.
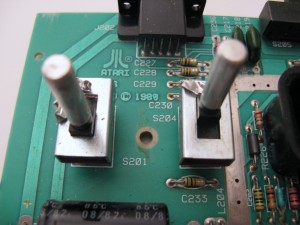
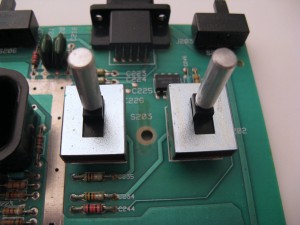
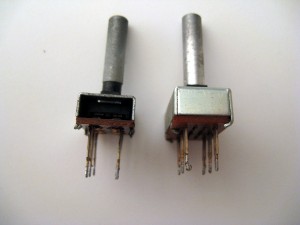
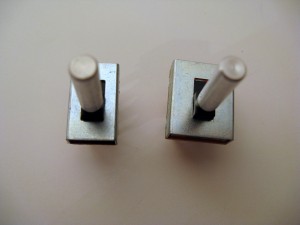
- There are different kind of switches, some have an opening on the top and bottom like the one on the left. Others are completely closed like the one on the right. If you have the kind that are closed you can skip this part and go to the part where you open up the switch to clean it.
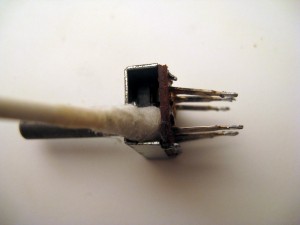
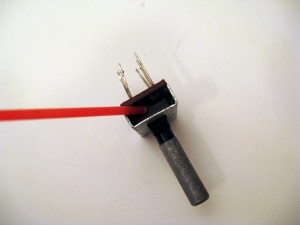
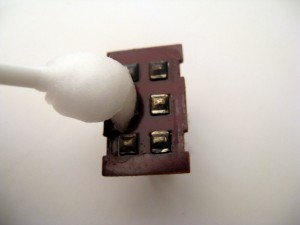
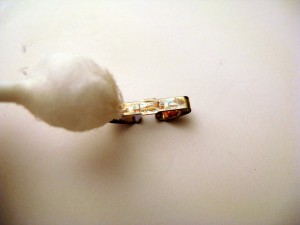
- If you have the open kind, the first step you do should be to try cleaning the switches with rubbing alcohol and a Q-tip, or better yet some electronics cleaner. You can do this while the switch is still in the Atari, I only took it out for illustrative purposes here. Make sure you use the Q-tip or spray on both sides and then move the switch up and down a good 15-20 times. In my experience the electronics cleaner works much better and usually fixes the problem for me 90% of the time.
- OK, so if you tried this and it still doesn’t work, you may need to open up the switches, clean the contacts and bend them out to make sure they are making a good connection. This will require you to remove the switch from the board using your de-soldering tool of choice. Once you have it out, I would again use the multimeter to test each contact for continuity. Sometimes a toggle switch will work one way and not the other, if that is the case all you have to do is flip it around and solder it back in place (Remember that on one side of the toggle switch all 4 prongs are connected on the circuit board, so just make that the broken side of the toggle switch).
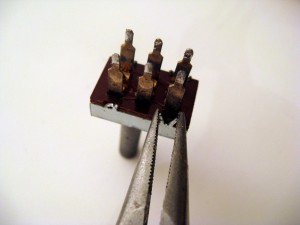
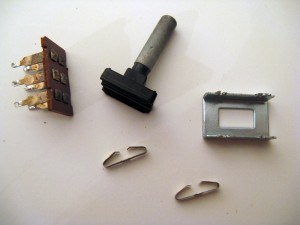
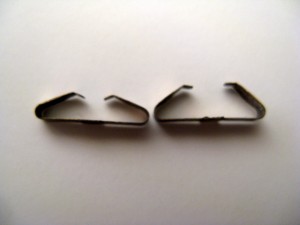
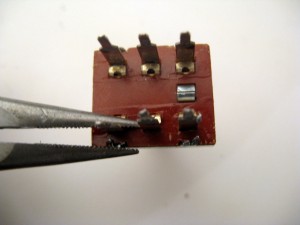
- First let me warn you that the Rest/Select momentary switches are a pain to put back together because of the spring. The toggle ones aren’t too bad. First thing you need to do is bend the metal tabs in with a pair of needle nose pliers.
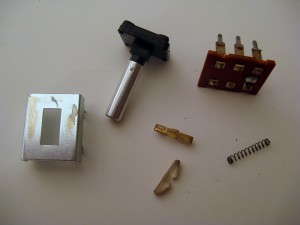
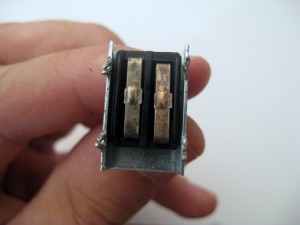
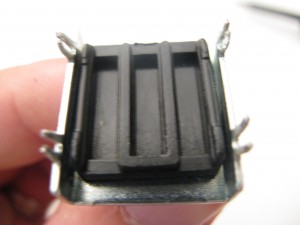
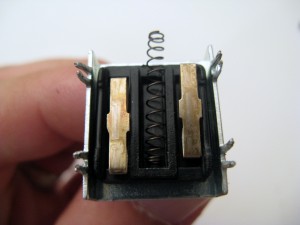
- Here are all the parts for the two types. Notice the spring on the wider momentary switch. Make sure you don’t lose any of the parts.
- Next use a Q-tip and rubbing alcohol to clean the two metal contacts as well as the ends of the 6 prongs.
- You can also bend the metal contacts and make them wider to ensure a better connection. The one on the right shows this. If it is a toggle switch it is fairly easy to put the metal contacts back into the switch and start to put everything back together.
- If it is the momentary switch, notice how one side of the center slot has an open and a closed side. Put the contacts in and the spring should rest on the closed side. You will need to use the metal tab on the bottom piece to load the spring. This is the most difficult and annoying part. Good luck.
- When you put the bottom piece back on you should bend the tabs back so the switch stays closed. You can use a small screwdriver to separate the two small prongs and then use the pliers to bend them in. At this point use the multimeter again and see if you fixed the switch by checking for continuity. If not than you can try again or admit defeat and buy a new switch There are a few places that sell them online such as Best Electronics. But hopefully you were able to fix it with one of these steps. Leave me a comment and let me know how they turned out.
Helps with my original 2600 that has a faulty on/off. The 2600A is great so might mod that to have the AV mod then FrameMeister Mini some sweet arse video.
Cheers.
I cleaned up my reset switch nicely, then went to put it back on.. You weren’t kidding, that spring caused me chaos. Came flying out a few times…Then I had to find it on a carpeted floor. I finally got it in, and I still had the same problem–The switch was still very tight. After taking it back off, I had an idea. I put the spring over the metal tab. The tab is actually inside of the spring, tightly. Now it wouldn’t fly off. I got it back together easily this time, but didn’t expect it to work well… It works great! The switch goes down easily. It rises back up a touch slower than normal, but all games work fine.
Brilliant article. I just purchased a Vader model and I have every intention to restore and recondition. Your article will certainly provide guidance on the mechanical restoration.