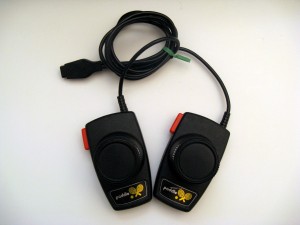
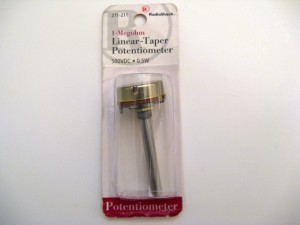
Tired of Atari Paddles that jitter? No problem, there a couple of easy ways you can go about fixing them yourself. The first is to clean the internal potentiometer. Here is the guide for Atari Paddle Repair (Cleaning Jittery Paddles). This will work for most paddles, but sometimes for particularly stubborn paddles you may want to replace the pot. There is a way to completely replace the internal pot with a brand new one from Radio Shack that costs $3. Here is the part you need. Of course it needs some modification to fit properly into the paddle casing. This guide will show you how to do that.
The tools needed are:
- 1 Meg Linear Taper Pot – Radio Shack Part # 271-211
- Screwdriver
- Wire Cutters/Strippers
- Rotary Tool with Various Bits for Cutting/Grinding
- Soldering Iron and Solder
- Tape Measure/Ruler
- Glue
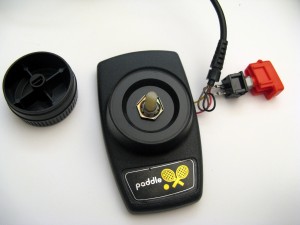
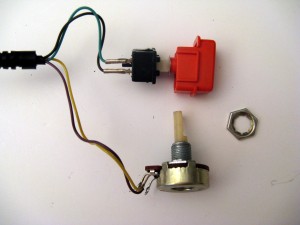
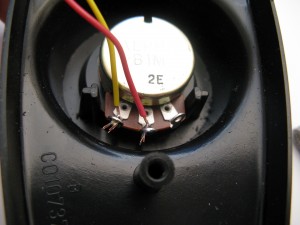
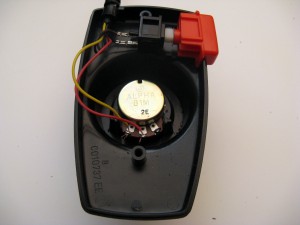
- First unscrew the 2 screws on the bottom of the paddle. Then remove the top knob and take out the pot by unscrewing the nut on the top side. KEEP THE NUT because you will need to use it later as a washer for the new pot. Take out the button as well. You can also cut the two wires connected to the pot terminals.
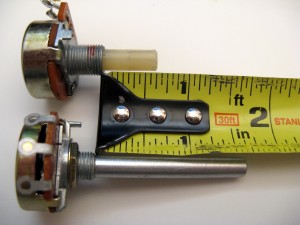
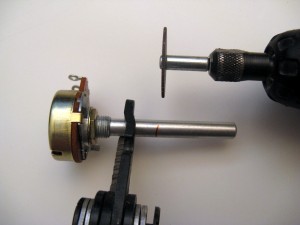
- The first thing you need to do is cut down the pot so it is the right size. Using the tape measure, measure exactly 5/8" up from the top of the threads and make a line. This is where you need to cut with the rotary tool.
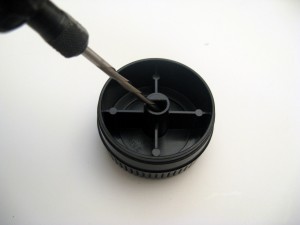
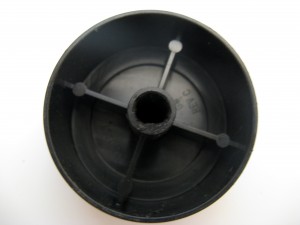
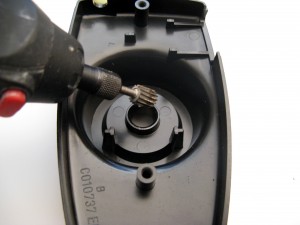
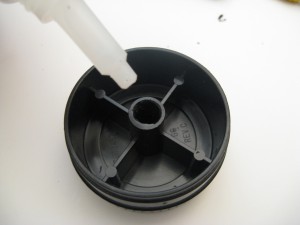
- You will notice that the original pot has a plastic half circle shape to it in order to fit it into the knob. You could try to grind/cut down the new pot to match that shape, but I think it is far easier to grind out the paddle knob and make it a full circle. Make sure you take the small black metal piece out of the knob before you start grinding. When you are done the pot should be able to fit into the knob nicely.
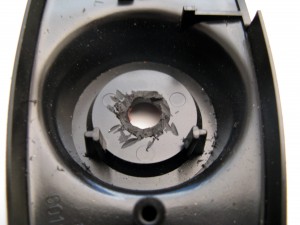
- Now grind down the plastic ring on the top half of the paddle cover. The reason for this is the threads on the new pot are not as long as the original and you don't quite have enough to thread the nut on. If you are having problems screwing the nut on in the next step, go back and grind some more plastic off. Afterward the top cover should now look like this.
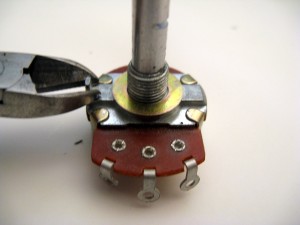
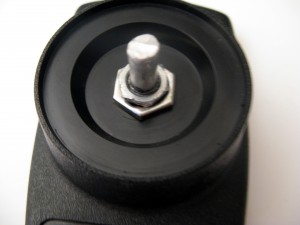
- Next remove the nut and washer and clip off the metal tab on the pot. You do not need the washer included with the new pot, toss it. Then put the pot into the case. Now use the old nut that you saved from before as a washer and put in on the top side of the cover. You should have just enough of the threads showing to screw the new nut on so the pot is in place.
- Now strip off some of the wire and solder them into the terminals on the pot. Then take some glue and put it in the hole on the knob and place the knob on the pot. You could also try wrapping electrical tape around the pot if you don't want to permanently glue the knob on. Either way it needs to fit tight. Allow it to dry a little before turning the knob to test it.
- Replace the wire and button back into place and screw the bottom back on. Repeat with the other paddle if necessary and you should have paddles that now work like new!
- Side Note: You could also use a 500k pot instead of a 1 Meg if you want the paddles to be more responsive. Paddle games do not use the full range of motion on the pot, in fact you may notice that most games only use about 1/4 of the full rotation. Keep in mind this means you will have to turn the knob more in order to move the same amount of distance as the old pot, but this also allows for more exact movements
