Pal Installation Guide
Disclaimer: I am not responsible for any damage done to your Atari. This mod is designed to permanently remove the RF output. The mod will work if performed correctly to a fully functioning Atari. Perform at your own risk.
PAL Installations
This mod is designed to work on PAL systems as well. The installation will vary slightly because the board layouts are different for PAL systems. But 98% of it is done exactly the same. Here I will post pictures of different PAL models and the variations from the NTSC guide. The thing to remember is that while the boards may look different, the components are often labeled the same. For example, you pick up the audio on a 6 switch system from C210. Now C210 might be in a different spot on the PAL board but it is still where you get the audio from. so your best bet is to follow the instructions and just recognize that the picture might look different. Anything that is different will be listed below.
Atari 7800
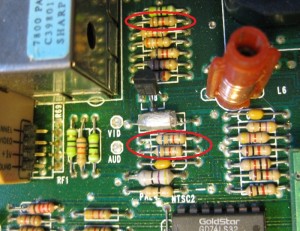
- Remove the 3 resistors circled. The yellow wire should go to the right side of the R32 hole, that is the audio spot. If you want pokey sound you need to add your own wire and connect it to the right side of R33 (You can skip the audio section of the NTSC guide).
- Then the blue, red, and black input wires go to the same exact spot that is on the guide on my website. The NTSC and PAL instructions are identical for everything else. Cut the 4 pins and remove the small board coming out of the RF modulator, that is where the remaining input wires go. Then just put in the RCA jacks and connect the 3 output wires to them like in the guide.
Atari 2600 Jr.
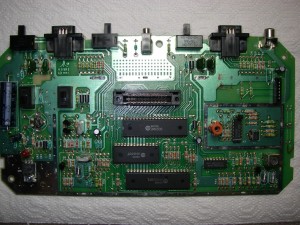
- This is the same from what people have told me. There are a few really unique and rare PAL versions out there though. If you think you have one of those let me know using the contact form and I’ll see if I can help. Otherwise just follow the guide and look for the same labeled components as the NTSC version.
Atari 2600 4 Switch
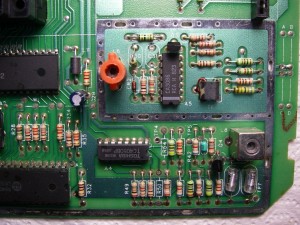
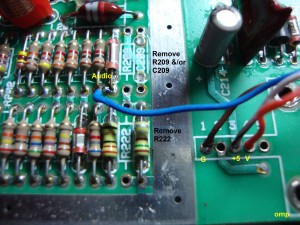
- Same thing here, just follow the instructions to remove the transistor. Again, it might be labeled Q201 or Q202 depending on your version. Audio is taken from bottom of R208 or C206 and pins 1,3,4 are the same. The picture on the right says to take out R22 and R209/C209. This person said it improved the brightness and picture quality so give it a try if you like.
Atari 2600 6 Switch
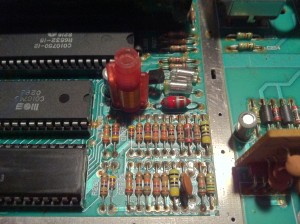
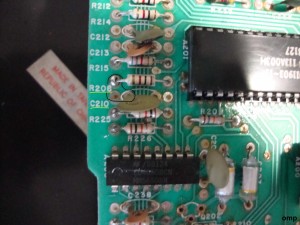
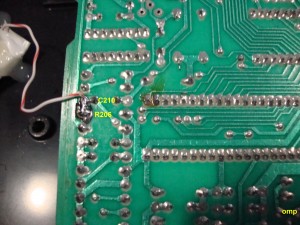
- The 6 switch should be exactly the same. Just follow the NTSC guide. Below are pictures of where you pick up the audio. The board layout is different but the components are numbered the same. The hole next to C210 is where you get the audio from. Remove Q202, and the pins going into the RF modulator are exactly the same so follow the NTSC guide for everything else. Removing R213 also helps improve the picture for some people too so remove that as well if you have it.
