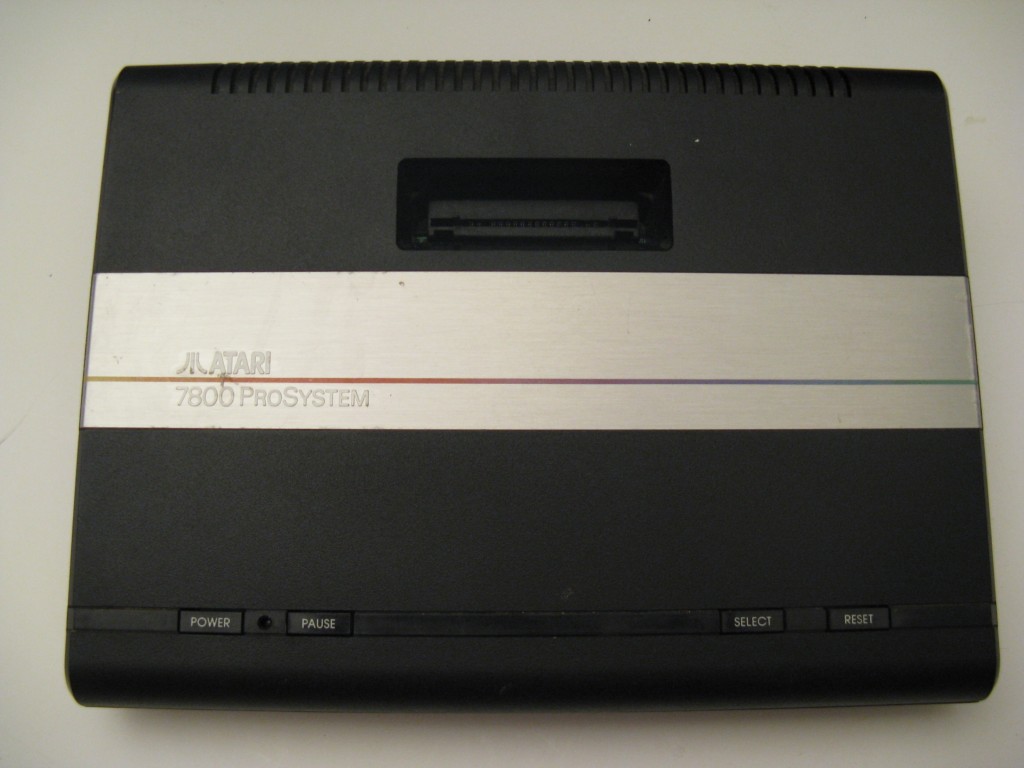
Disclaimer: I am not responsible for any damage done to your Atari. Please follow the instructions carefully and use the contact form if you have any questions.
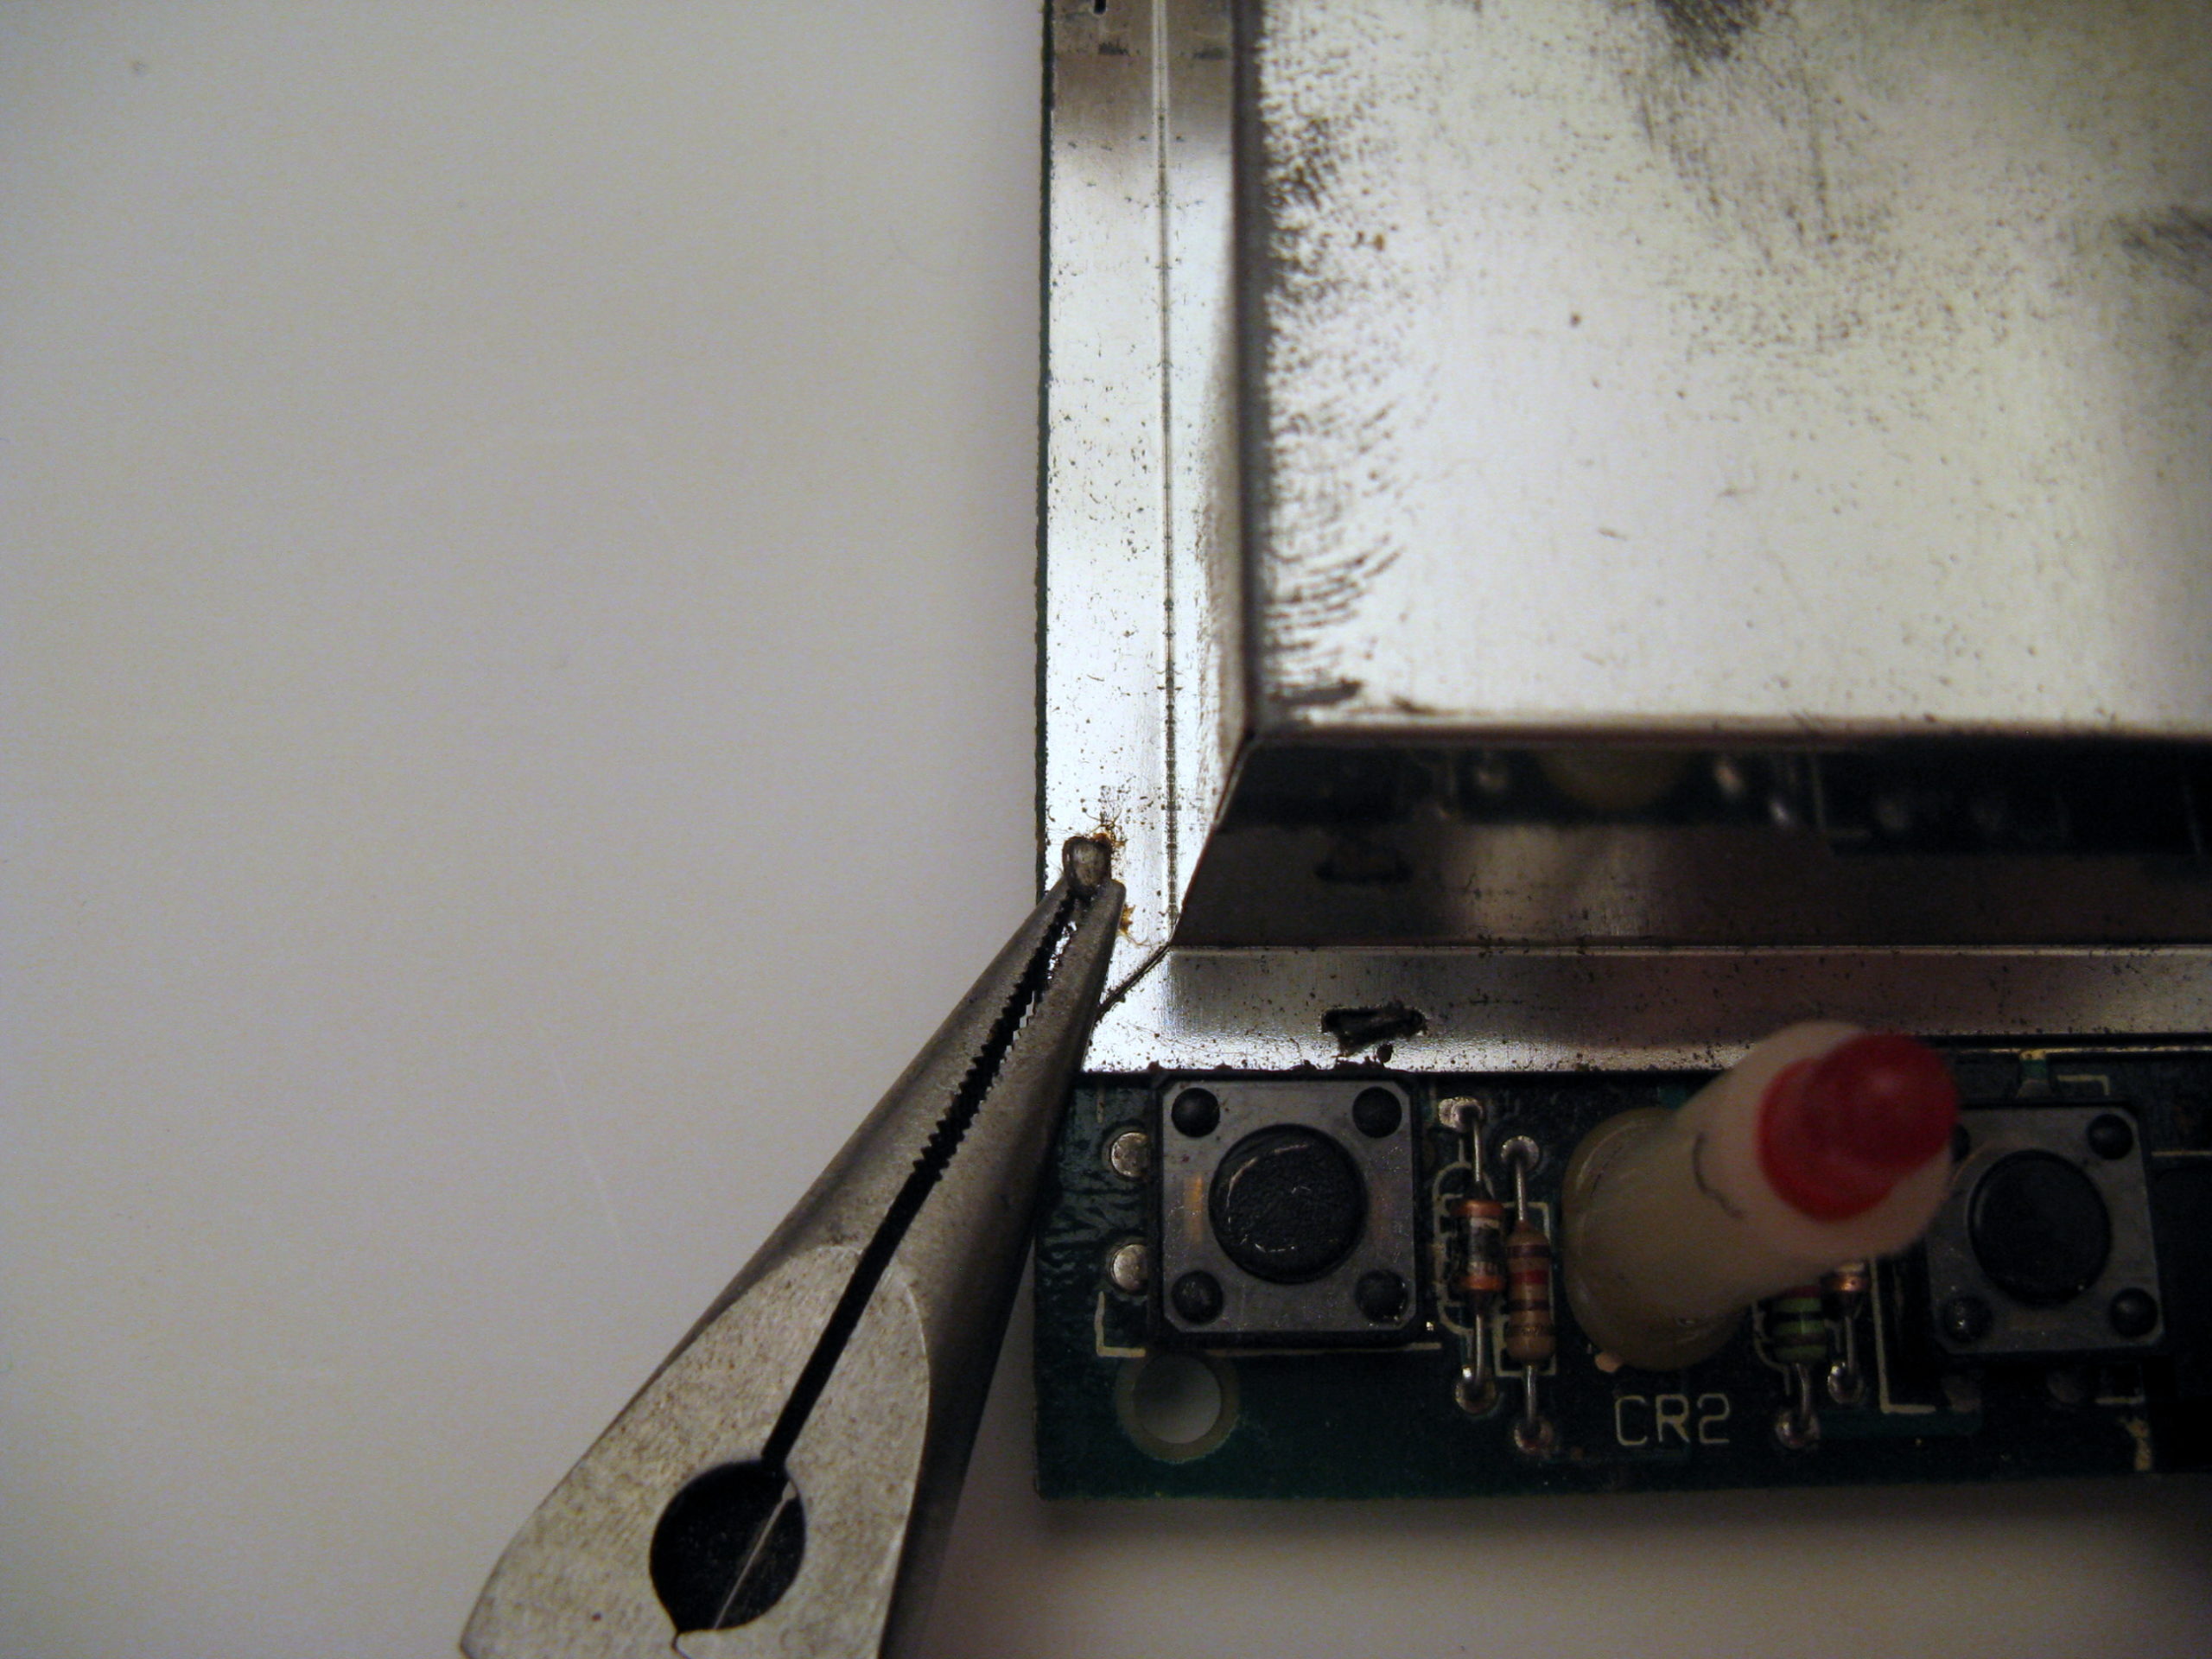
Turn the Atari over and remove the 5 screws. Set them aside for later. Remove the main board out of the console. Using the need nose pliers, twist the tabs around the metal case so they are straight. Remove the metal casing (top and bottom).
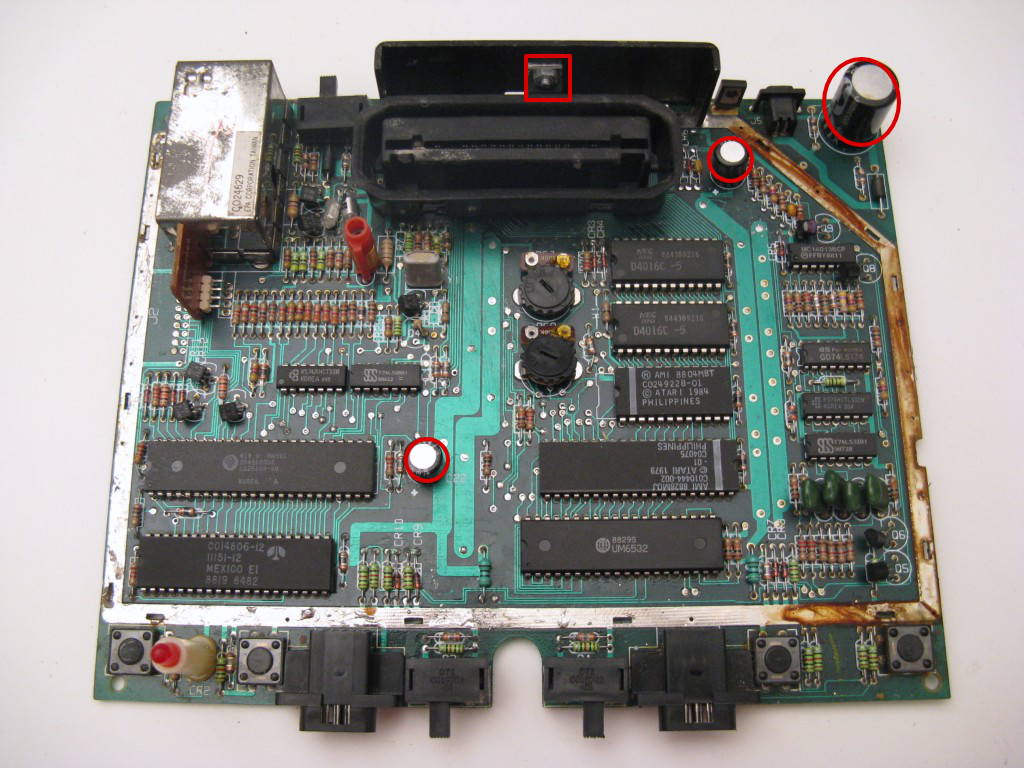
Using the need nose pliers, bend up the 4 tabs around the metal case. Remove the metal casing (top and bottom). You should now have the main board like this with access to all the components.
The image above will show you the placement of the components you are replacing. Replace the two smaller capacitors that are circled with the smaller capacitors included with the kit. Use the larger capacitor to replace the larger circled capacitor. Be sure to use a good desolder tool and remove all the solder before attempting to remove the old caps. These capacitors are polarized so make 100% CERTAIN you follow the + and – markings on the board and match them to the markings on the capacitor otherwise you will blow the capacitor and risk damaging the Atari.
For the voltage regulator, you will need to remove the nut that attaches it to the heat sink. Make sure you note the directon it is facing so you install the new one the same way. If you are having a difficult time desoldering and removing the regulator, you can try cutting the pins and using a pair of needle nose pliers along with your desolder tool. One you clear out the holes put a small amount of paste on the back of the regulator and then put the nut back on to attach it to the heat sink before soldering it in place.
Now you are ready to put everything back together. Put the top metal casing over the main board and secure it with the tabs and put it back in the case. Put the top cover back on, and put back screws back in. After that you are done and ready to enjoy your Atari! Also be sure to check out my Atari mods for composite video and a pause switch here. Please leave a comment below and let me know how you made out!